Introduction
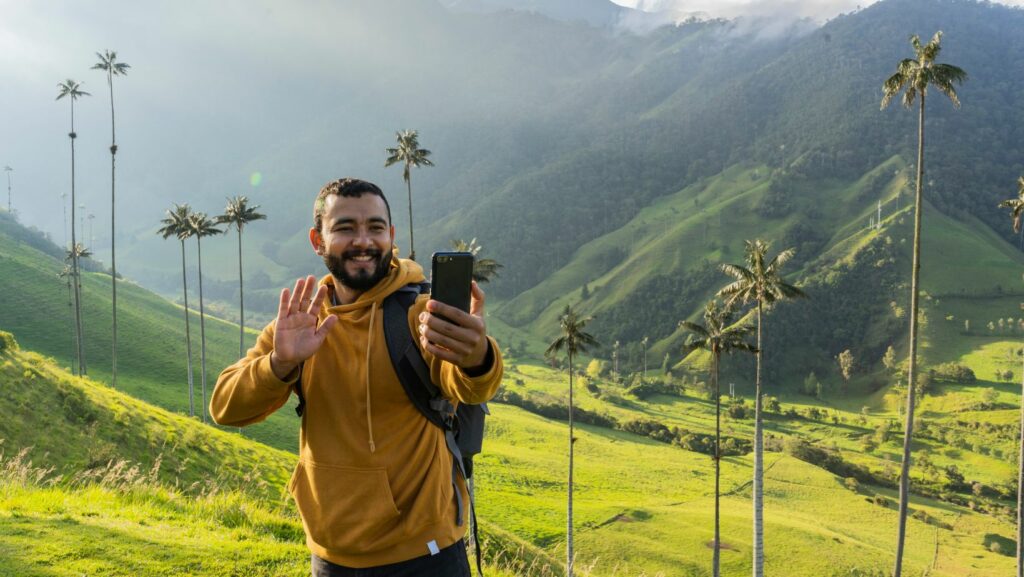
Traveling is all about exploring new places, experiencing different cultures, and making unforgettable memories. But how do you keep those memories alive? One of the best ways is by creating a compelling travel video. A well-crafted travel video not only helps you relive those moments but also allows you to share your adventures with others. Whether you’re an aspiring travel vlogger or simply want to document your journey, this guide will help you create an engaging and high-quality travel video the right way.
Step 1: Plan Your Travel Video
Before you start recording, it’s crucial to have a plan. A well-structured video tells a story and keeps viewers engaged.
Choose Your Story
Every great travel video has a theme or narrative. Are you focusing on the local cuisine, adventure activities, or the overall experience of the destination? Decide on a storyline that connects with your audience.
Research Your Destination
Understand the highlights and unique aspects of the place you’re visiting. This will help you decide what to film and how to structure your video.
Create a Shot List
Having a list of key shots you want to capture will make your filming process smoother. Some essential shots include:
- Establishing shots (cityscapes, landscapes, etc.)
- Close-ups of food, people, and cultural elements
- Action shots (hiking, surfing, exploring streets)
- Personal interactions and reactions
Step 2: Gear Up with the Right Equipment
You don’t need an expensive camera to create a great travel video, but having the right gear can make a difference.
A travel video maker tool is a great option to try out.
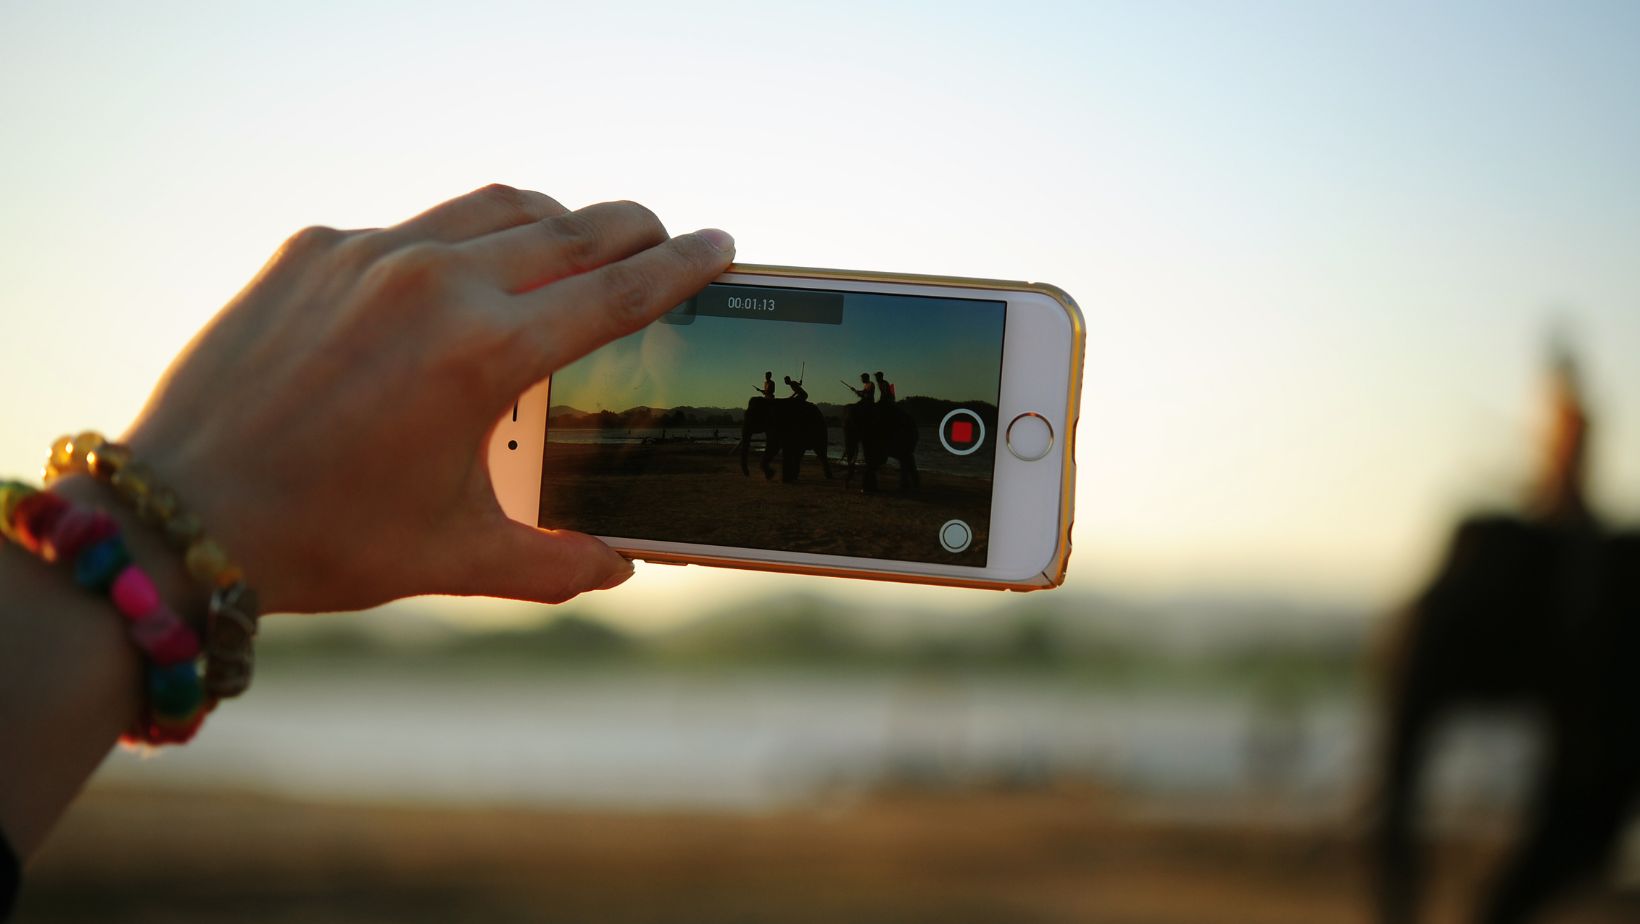
Camera
- A smartphone with a good camera can work well for casual videographers.
- A DSLR or mirrorless camera offers better image quality and depth.
- An action camera (e.g., GoPro) is perfect for adventure footage.
Stabilization
- Use a tripod or gimbal to avoid shaky footage.
- Consider a selfie stick for vlogging-style videos.
Audio Equipment
- Invest in an external microphone for clear audio.
- Use a windshield cover to reduce wind noise in outdoor settings.
Step 3: Master the Filming Techniques
Good filming techniques can elevate the quality of your travel video.
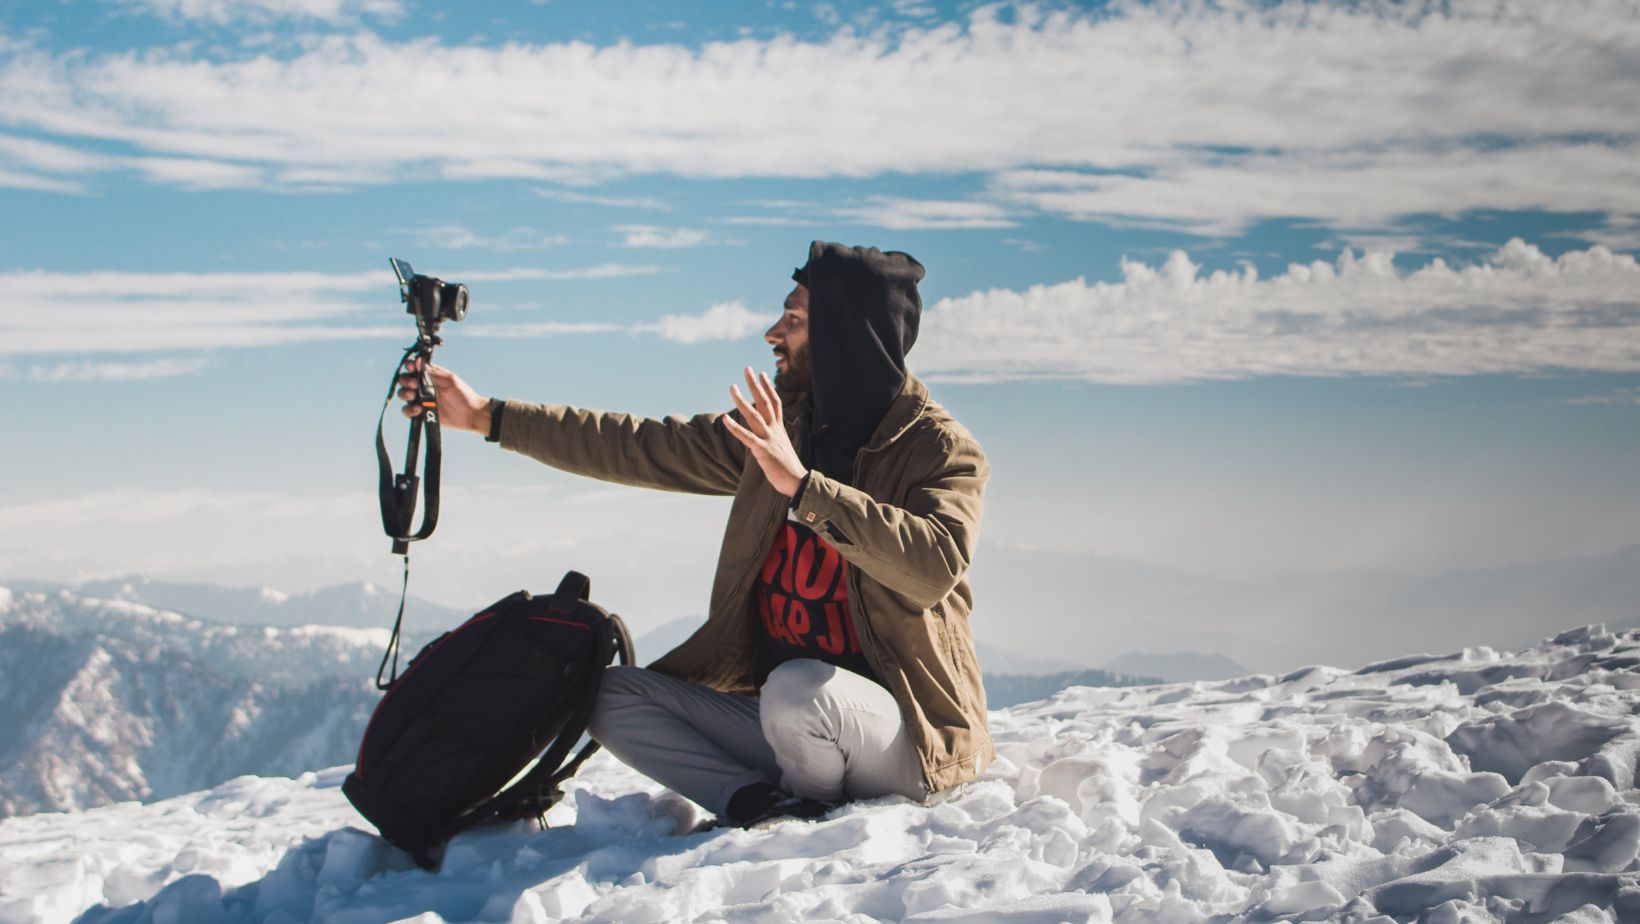
Use Natural Light
- Film during golden hours (early morning or late afternoon) for soft, beautiful lighting.
- Avoid the direct midday sun, which creates harsh shadows.
Capture Different Angles
- Mix up wide, medium, and close-up shots to make your video visually interesting.
- Try unique perspectives, such as aerial drone shots or POV (point-of-view) angles.
Film in Short Clips
- Keep each shot 5-10 seconds long for smooth editing.
- Capture B-roll footage (extra shots) to add depth to your story.
Interact with Locals
- Engaging with people from different cultures adds authenticity to your video.
- Ask for permission before filming individuals or cultural sites.
Step 4: Edit Like a Pro
Editing is where your travel footage transforms into a stunning video.
Here’s how you can make it shine.
Choose the Right Editing Software
- Beginner-friendly: iMovie, CapCut, or InShot
- Advanced options: Adobe Premiere Pro, Final Cut Pro, or DaVinci Resolve
Organize Your Footage
- Sort clips into categories (landscapes, food, activities, etc.) for easy access.
- Remove unwanted or repetitive clips.
Create a Story Flow
- Start with an attention-grabbing intro (exciting clip or question).
- Maintain a logical sequence (arrival, activities, highlights, departure).
- End with a strong conclusion (reflection, favorite moment, or call-to-action).
Use Music and Sound Effects
- Choose copyright-free music from sources like Epidemic Sound or YouTube Audio Library.
- Sync beats with transitions to create a rhythmic flow.
- Add natural sounds (waves, street chatter, birds) for an immersive experience.
Add Text and Graphics
- Use simple, elegant titles and subtitles for key locations or moments.
- Include transitions to smooth scene changes.
- Avoid overloading your video with excessive effects.
Step 5: Optimize for Sharing
Once your travel video is ready, optimize it for different platforms to maximize engagement.
Choose the Right Video Format
- YouTube & Facebook: 16:9 (landscape)
- Instagram Reels & TikTok: 9:16 (vertical)
- IGTV & Stories: 4:5 or 1:1
Write a Catchy Title and Description
- Use an engaging title that sparks curiosity (e.g., “Exploring the Hidden Gems of Bali | Travel Vlog”).
- Include relevant hashtags and keywords to improve discoverability.
Engage with Your Audience
- Encourage viewers to like, comment, and subscribe.
- Respond to comments and share behind-the-scenes clips on social media.
Bonus Tips for an Amazing Travel Video
1. Be Authentic
Your personality and genuine reactions make the video relatable. Don’t be afraid to show both the highs and lows of your journey.
2. Keep It Short and Engaging
Aim for 3-5 minutes for YouTube and 30-60 seconds for social media clips. Keep your audience engaged by avoiding unnecessary filler content.
3. Experiment with Time-Lapse and Slow Motion
Use time-lapse for bustling cityscapes and slow-motion for dramatic moments like waterfalls or sunset views.
4. Tell a Personal Story
Rather than just showing locations, share your personal experiences and emotions. What made the trip special? Are there any funny or unexpected moments?
5. Backup Your Footage
Save copies of your video files on an external hard drive or cloud storage to prevent data loss.
Conclusion
Creating a great travel video doesn’t require professional filmmaking skills—just a passion for storytelling and some practice. By planning your shots, using the right equipment, mastering filming techniques, and editing with creativity, you can turn your travel memories into a captivating video that lasts a lifetime. So, grab your camera, start shooting, and keep those memories alive!